Storing Images as Blob

Introduction
When images are fetched from API's we simply get the images via URLs and anytime we need to re-use the image, we have to send another fetch request. This can be pretty annoying to keep repeating, as an alternative we can convert the image we get from our URL into a blob consisting of a base64 encoded form which we can use directly in the src attribute.
Goals
In this tutorial, users will learn how to convert images to blob, and store them in a blob format. These images will be fetched from an API and will be displayed in a React App.
Setting Up
For our React application, we simply have a single page that displays the image received from the API and the image received from the base64 format side-by-side. Pretty cool, 😎 right? Let's dive in.
Creating our App
We will be using ReactJs for this project. To set up React, we use the following command in the CLI:
npx create-react-app images
This creates a project folder named images which we will be using for our application. You can open this folder in your code editor. Your app structure should be similar to the tree diagram below:
┣ 📂public
 ┃ ┣ 📜favicon.ico
 ┃ ┣ 📜index.html
 ┃ ┣ 📜logo192.png
 ┃ ┣ 📜logo512.png
 ┃ ┣ 📜manifest.json
 ┃ ┗ 📜robots.txt
 ┣ 📂src
 ┃ ┣ 📜App.css
 ┃ ┣ 📜App.js
 ┃ ┣ 📜App.test.js
 ┃ ┣ 📜index.css
 ┃ ┣ 📜index.js
 ┃ ┣ 📜logo.svg
 ┃ ┣ 📜reportWebVitals.js
 ┃ ┗ 📜setupTests.js
 ┣ 📜.gitignore
 ┣ 📜package-lock.json
 ┣ 📜package.json
 ┣ 📜README.md
 ┗ 📜yarn.lock
We will be making use of the App.js file to create our image viewing page and we will add some styles to it in the App.css file to give our webpage a better appearance.
Creating our Image view page
To start, we will clear up most of the boiler-codes that came in our App.js file until we have the structure below:
import "./App.css";
import react from "react";

function App() {
  return (
    <div className="App">
    </div>
  );
}
export default App;
For our app, we will need a search bar to get an image that will be displayed. We will start by building this first:
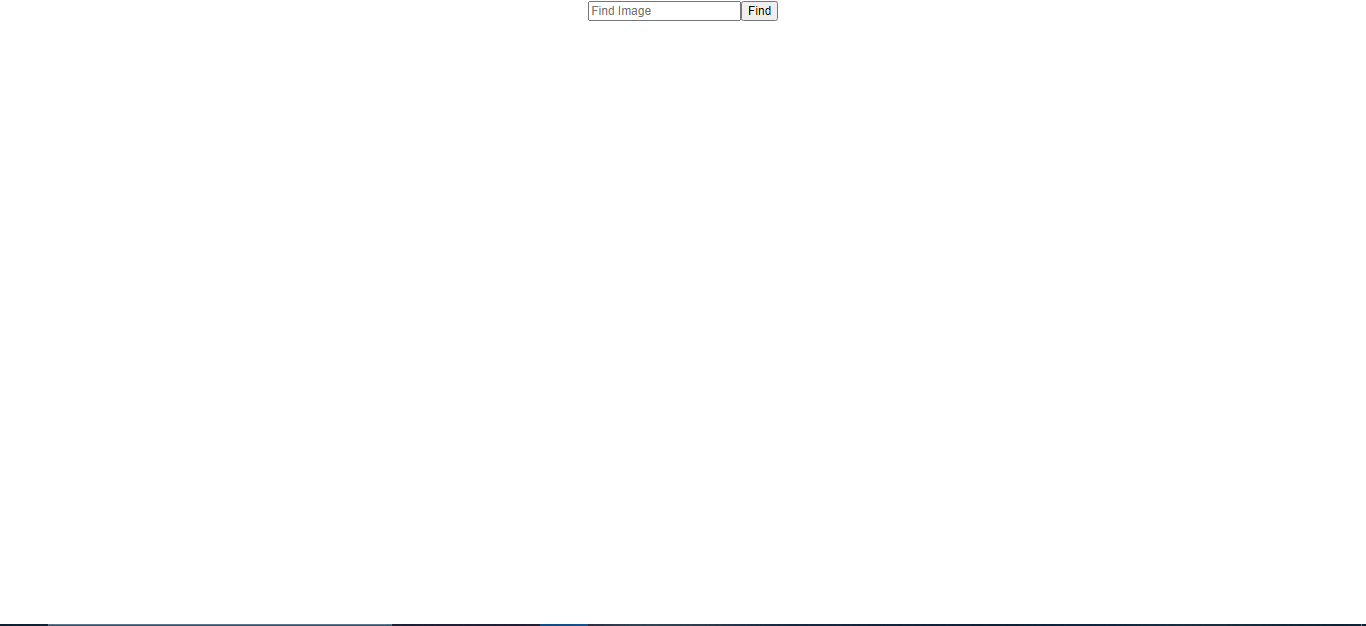
 <div className="App">
      <input type="search" placeholder="Find Image" />
      <button type="submit">Find</button>
    </div>
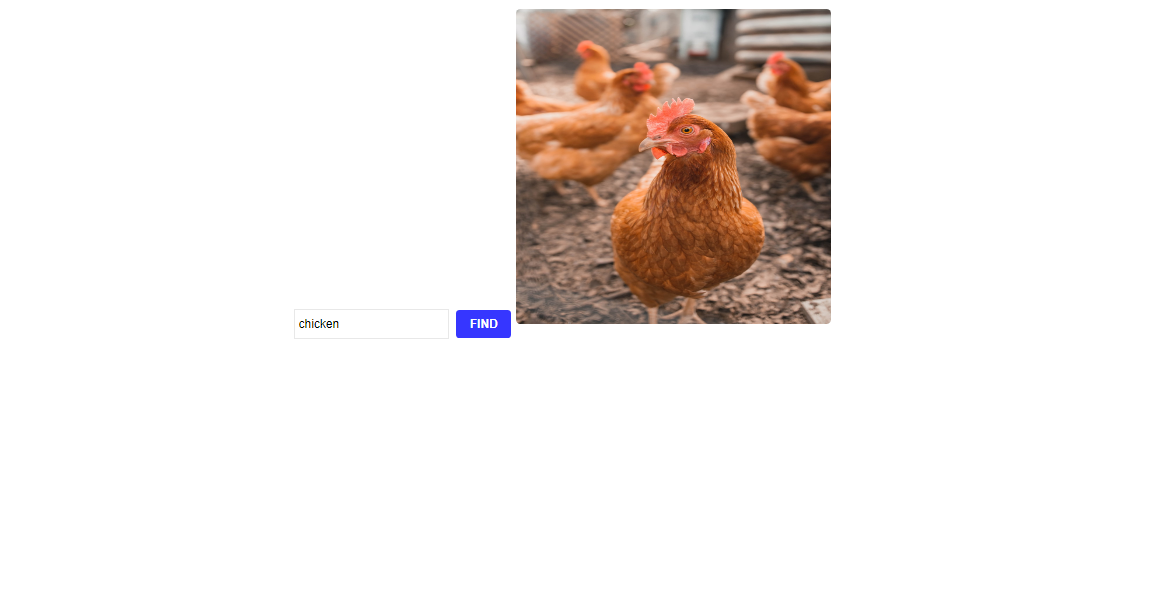
So here, we have the search input tag to search for our image and a button to submit it. To view our app in our browser, we run the npm start command in the CLI. Navigate to the localhost URL in your browser and you'll get a result similar to the image below:
Looks rather bland right? Let's liven things up with some styles. We can add these styles in the App.css file:
.App {
  text-align: center;
  font-family: monospace;
  padding-top: 8px;
}
input {
  padding: 8px 4px;
  border: 1px solid #e8e8e8;
  margin: 8px;
}
button {
  padding: 8px 15px;
  text-transform: uppercase;
  font-weight: bolder;
  background: rgb(54, 54, 255);
  border: none;
  color: #fff;
  border-radius: 4px;
  cursor: pointer;
}
Now, in our browser we have the following result:
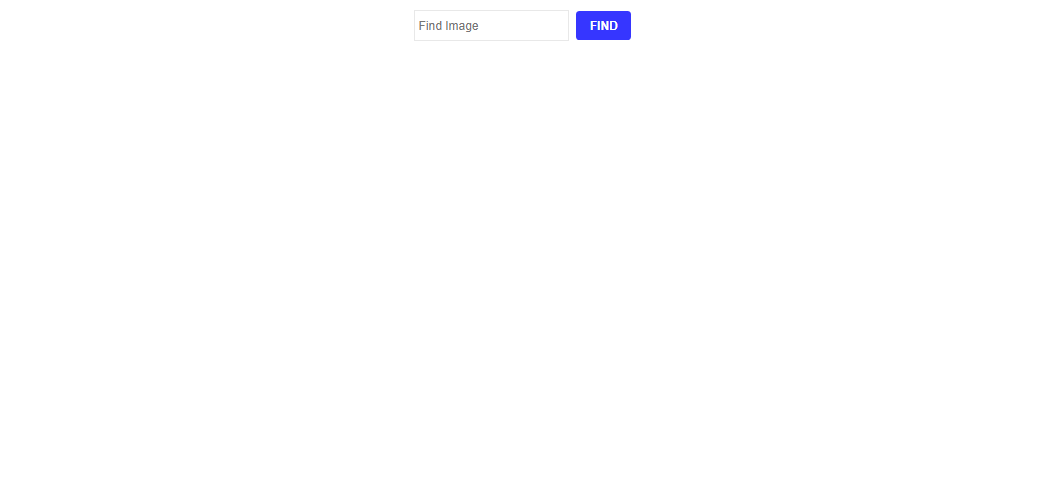
Looks much better. Next up, we will fetch and display our image from the Unsplash API.
Creating Unsplash account
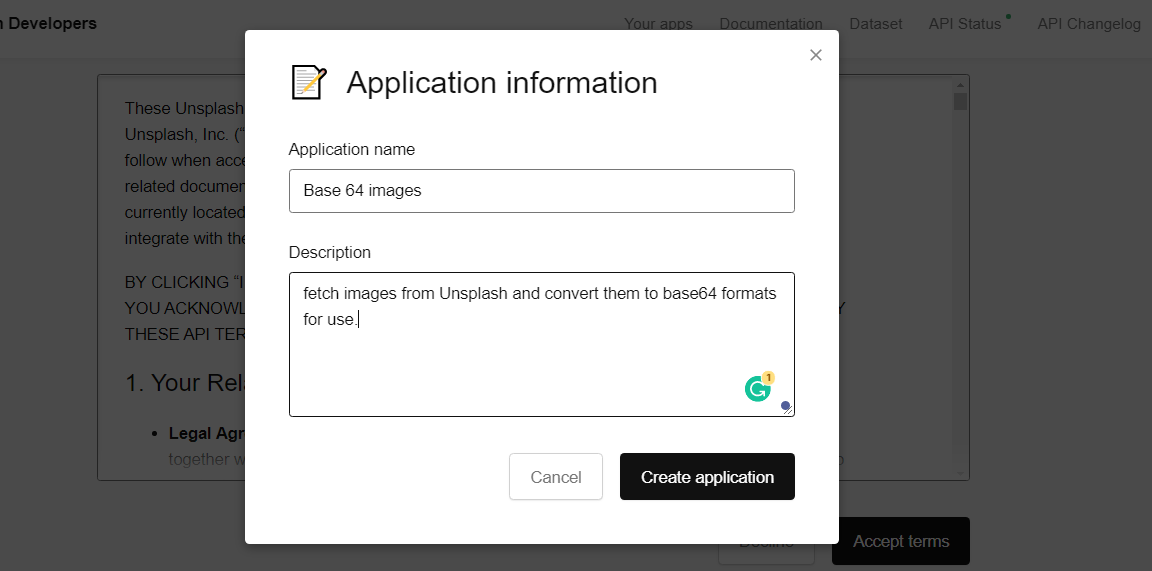
Unsplash API provides us with a means to get high quality images from Unsplash which we can put to different uses. To create a user account, navigate to the Unsplash page and click on the "Register as a developer" button. Fill in your details in the form on the next page and create your user account. Click on "Create a new application" and you'll be prompted to accept some "terms and agreements" then finally create a new application.
finally, we will need the access credentials at the bottom of our next page. copy this key and save it in your App.js file
const key = "your access key";
For the purpose of this tutorial, we will hard-code our access key. Normally, it's better to store this key in a .env file or use a secret management app service like Doppler to store your keys.
Fetching images from Unsplash
Now that we have our access key, we can fetch our image with the Unsplash API. we will be using axios to make our request. We can install axios in CLI with the following command
npm install axios
With that set up, let’s get our image. We will import this module into our App.js file and make our request
...
import axios from "axios";
function App(){
    ...
    const link = "https://api.unsplash.com/search/photos";
  axios
    .get(link, {
      params: {
        client_id: key,
        query: "hp",
      },
    })
    .then(function (response) {
      console.log(response);
    })
    .catch(function (error) {
      console.log(error);
    })
    .then(function () {});
}
Above, we have set up our fetch request. The link variable contains our URL to fetch images. Our axios request makes use of our key in the link's parameter and searches for the query "hp". Once we get a response, the response will be logged in our console. Below is an example of what the response looks like
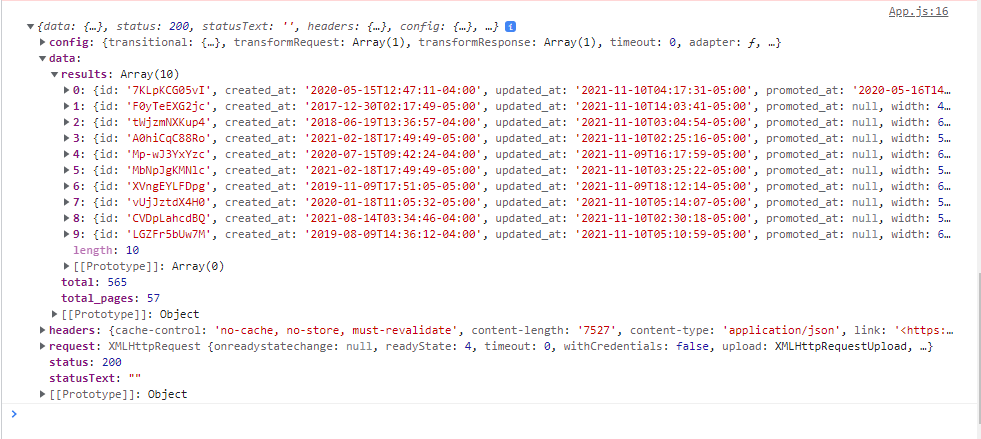
The response consists of an array of ten images. We are steadily making progress and are almost done with our image view page, we just need to get the URl for one of the images from our response. First, we will need a variable to store this URL and use it in our application.
const [image, setImage] = react.useState("");
Then we can set setImage to the value of the first URL from our response.
...
query: "hp",
      },
    })
.then(function (response) {
      setImage(response.data.results[0].urls.regular);
...
With this, we can create a img tag in our app and set the src attribute to image
<img src={image} alt="" />
One more thing, we need to set our search query to the input from our search bar rather than the "hp" string. To do this, we will create a state variable to contain the value of our input field, then we will place our fetch request in a function that will be called when we click the "Find" button.
const [query, setQuery] = react.useState("");
...
<input
        type="search"
        placeholder="Find Image"
        onChange={(e) => {
          setQuery(e.target.value);
        }}
      />
Then, for our Find button
<button type="submit" onClick={() => handleSubmit()}>
    ...
and the handleSubmit() function
function handleSubmit() {
    axios
      .get(link, {
        params: {
          client_id: key,
          query: query,
        },
...rest of the code
Here, we have added the search query from our input field to the params for our fetch request. now when we click on the "Find" button we have an image based on our search.
We can arrange the order the page is displayed through our App.js stylesheet.
.App {
...
  display: flex;
  flex-direction: column;
  justify-content: center;
  align-items: center;
}
Converting Image to Blob
We have come to the main focus of our application; converting the image from our URL to Base64 format. To be able to convert an image to base64 format, first the image has to be of type "blob". Blob is short for "Binary Large Object" and is a data type that can store binary data.
To convert our images to data URL we will need to use File Reader
...
setImage(response.data.results[0].urls.regular);
getDataBlob(image);
        async function getDataBlob(url) {
          var res = await fetch(url);
          var blob = await res.blob();
          var base64img = await parseURI(blob);
          console.log(base64img);
        }
async function parseURI(d) {
          var reader = new FileReader();
          reader.readAsDataURL(d);
          return new Promise((res, rej) => {
            reader.onload = (e) => {
              res(e.target.result);
            };
          });
        }
Above, we have two async functions for our image conversion. The getDataBlob function takes in the URL from our response, when res is returned it converts it to type blob. Then, to get the binary data of the image, we use the FileReader function. When we check in our console, we see a long string of characters that make up the binary data of our image. To use this data, we will store it in a variable and add it in the src attribute of another img tag.
const [newimg, setNewimg] = react.useState("");
Then instead of console.logging "base64img", we can set this value to setNewimg.
setNewimg(base64img);
Finally, we can create another img tag to use the src "newimg"
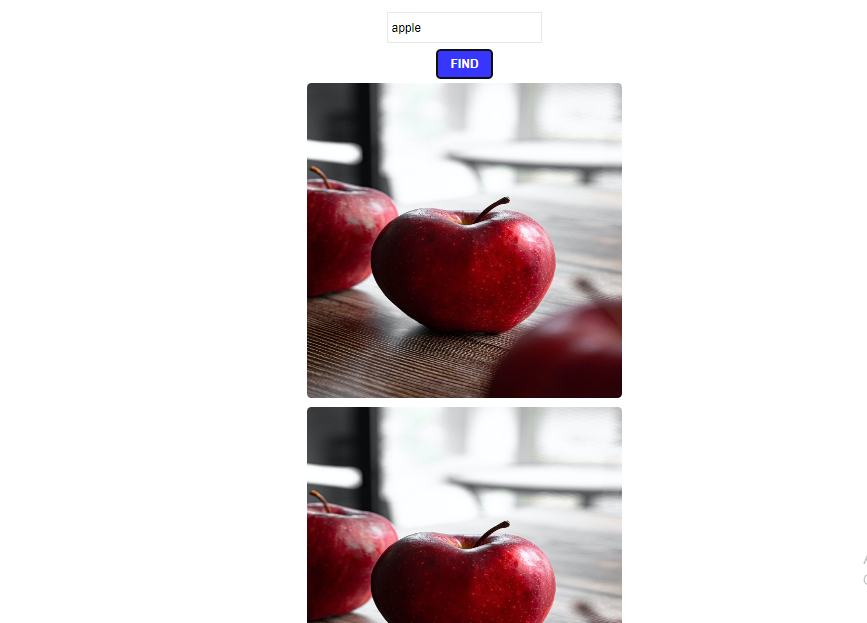
<img src={image} alt="image 1" />
<img src={newimg} alt="image 2" />
Above are our two img tags. The former uses the response from our API, while the latter uses the blob data URL as their respective sources.
Here is an example of what your output looks like
Conclusion
Hurray! we have come to the end of this tutorial. In this tutorial we learned how to fetch images from the Unsplash API, convert them to type blob and get the data URL for use in our application.

